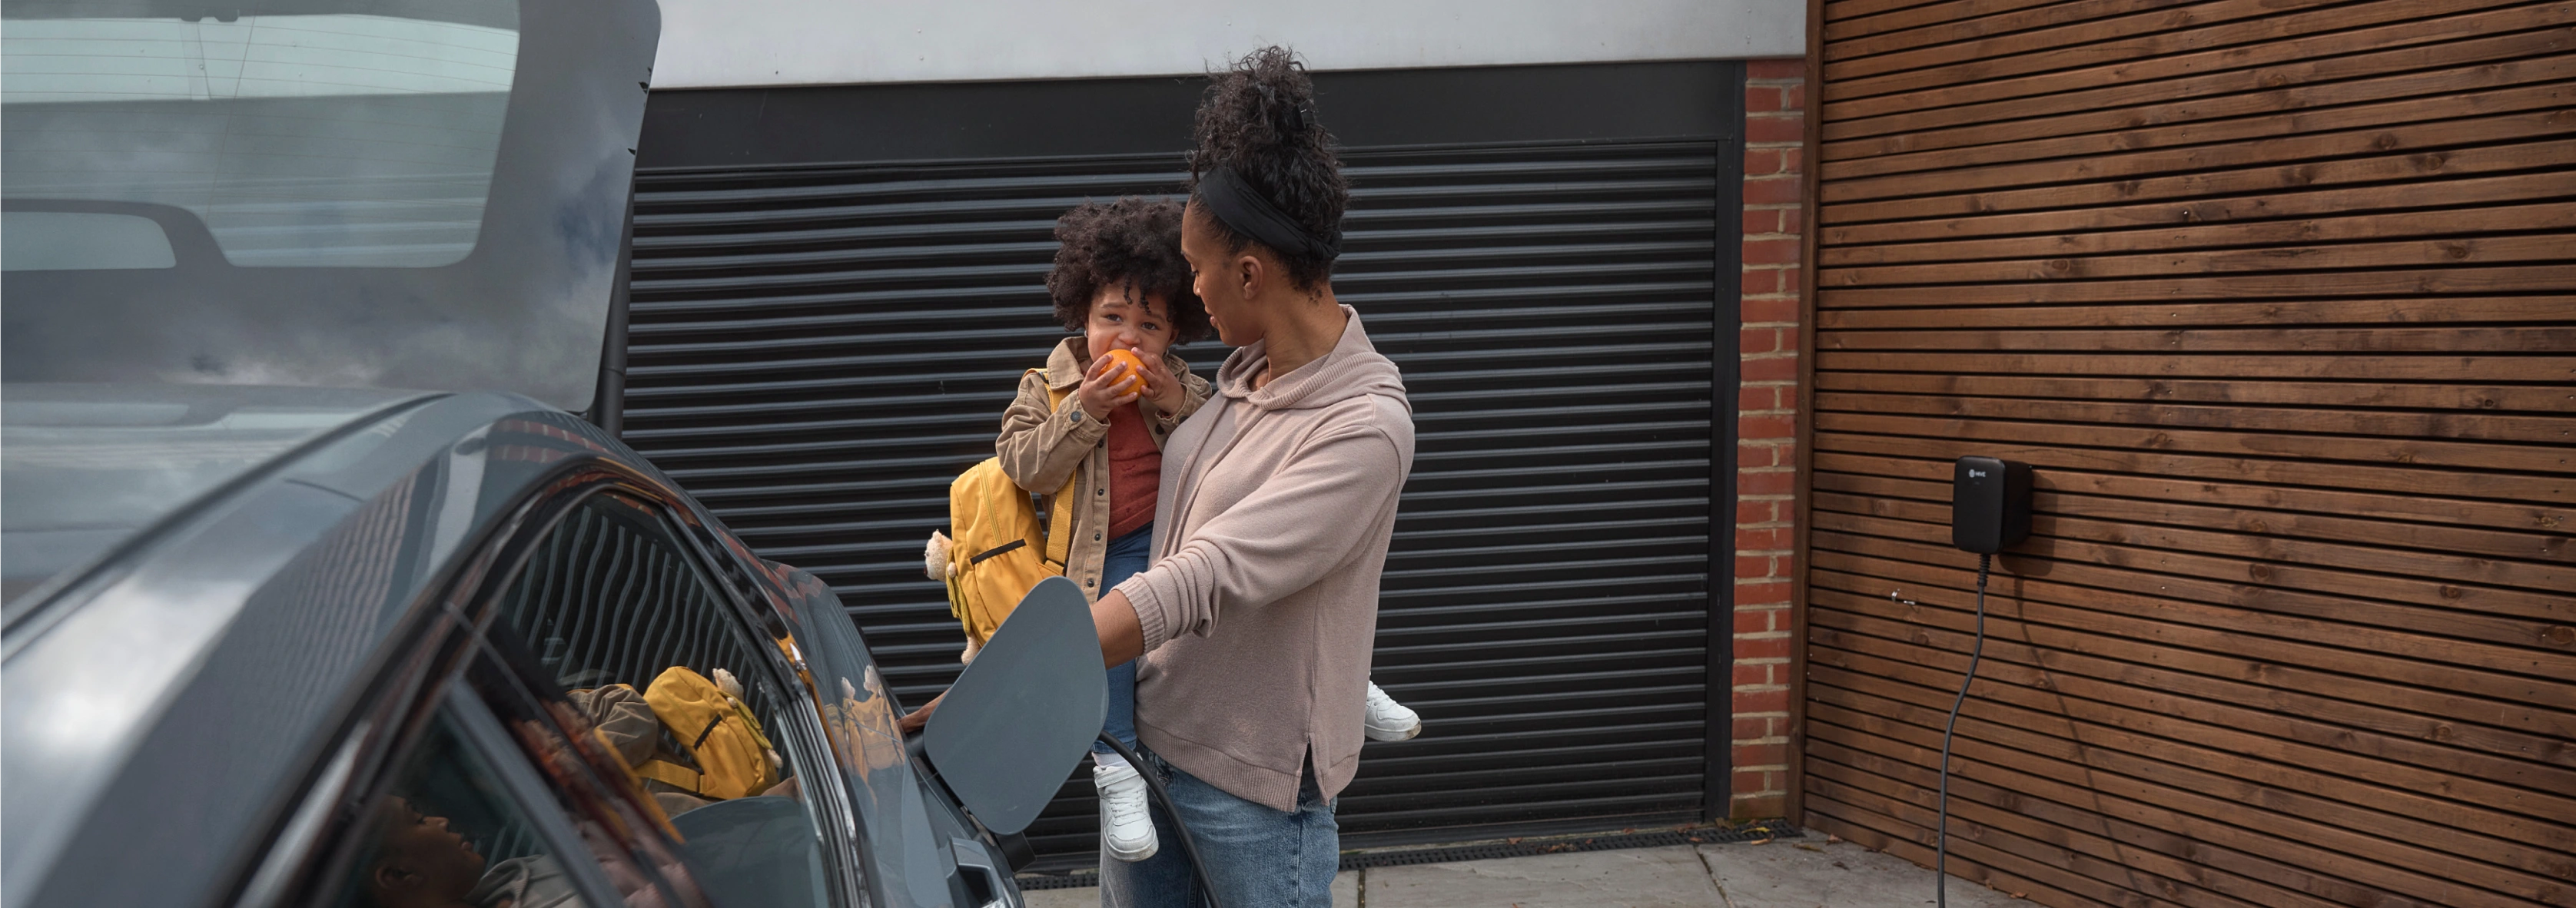
Installing an EV charger at home is one of the best ways to make charging your car part of your everyday routine. Once it’s set up, you can plug in when you get home, charge overnight, and avoid relying on public chargers for most of your journeys.
While the installation itself must always be handled by a qualified professional, it helps to know what to expect before you get started.
Can you install a home EV charger yourself?
While it’s not strictly illegal to attempt DIY, the installation must meet UK electrical safety regulations. So it needs to be done by a qualified electrician.
Your installer must be a certified electrician who can legally carry out electrical work and sign off the installation. And while approval from the Office for Zero Emission Vehicles (OZEV) isn’t always required, some installers are OZEV-registered which may be needed for accessing grants.
This is because the installation involves:
- Connecting directly to your home’s electrical system
- Ensuring the system is safely earthed and protected
- Meeting UK wiring and safety standards
We strongly advise against DIY installation, as it could affect warranties, insurance and grant eligibility.
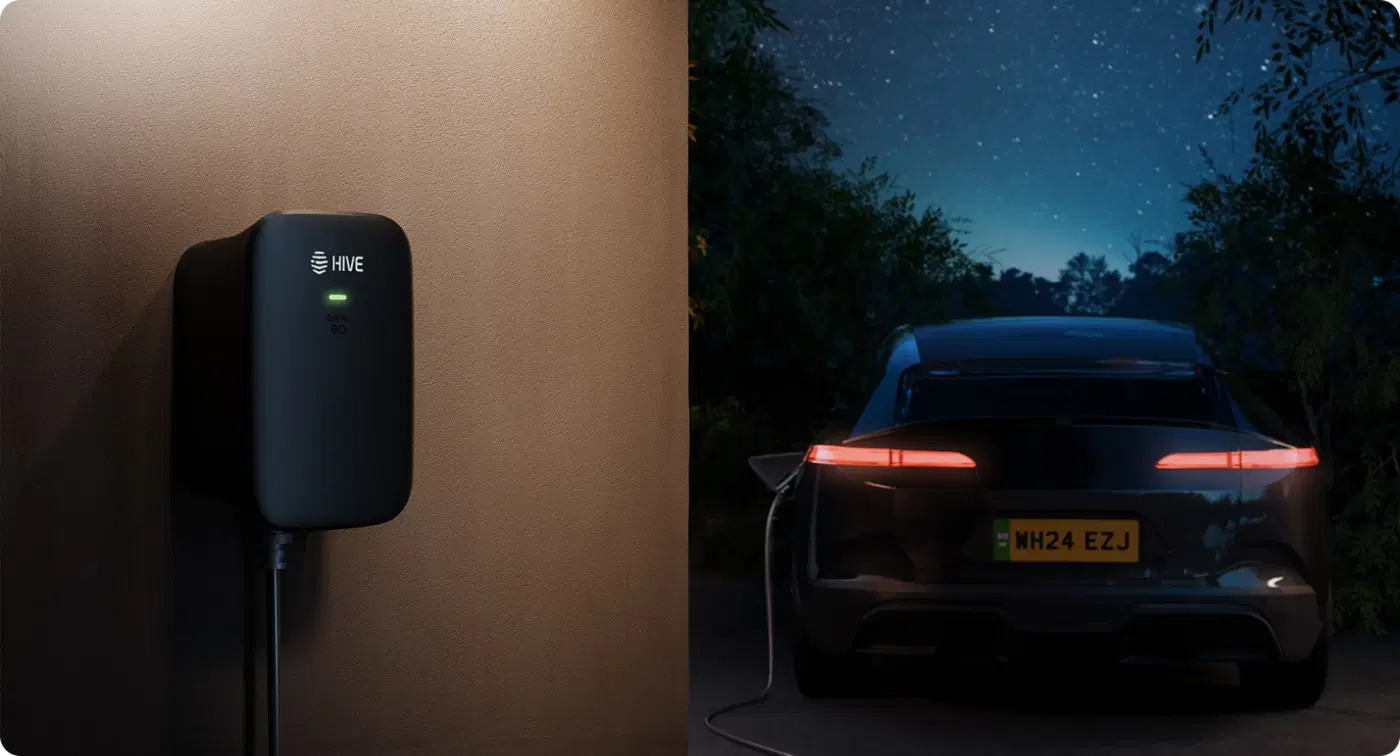
What you need to know before installing a home EV charger
Before installation begins, there are a few key checks to make sure your home is suitable and the process runs smoothly.
Is there a correct location to charge your EV?
First and foremost, the location of your charger plays a big role in how practical it will be day to day. Most installations need:
- A driveway or dedicated parking space close to your property
- Reasonable access to where your electricity supply enters the home
- Safe cable routing with minimal trip hazards
Installers will check whether the cable can run neatly from your consumer unit to your chosen charging point without creating safety or access issues.
Do you have enough power supply to the EV charger?
Next, you must have sufficient power supply. Most UK homes can support a standard EV charger, but your installer will always check your existing electrical capacity first. They may also check:
- Your current fuse board capacity
- Existing high-demand appliances (such as heat pumps or electric showers)
- Whether load balancing is needed to prevent overload
In some cases, upgrades will be recommended, but most homes can accommodate a home charger without major electrical changes.
Do you need permission to install one?
If you own your home, you can usually go ahead without needing to ask for permission. But if you’re a renter or live in a flat, you’ll need approval from your landlord first.
Because the charger is fixed to the property and connected to the electrics, it’s not something that can be installed without agreement. It’s worth checking this early on, as it can take a little time depending on your situation. Once that’s in place, the rest of the process is usually straightforward.
What does installation look like for different homes?
Installing an EV charger isn’t exactly the same for every home. The overall process is similar, but the setup can vary depending on where you park and how your property is laid out.
Detached and semi-detached homes
If you’ve got a driveway or private parking, installation is usually straightforward. The charger is typically fitted on an external wall and connected directly to your electricity supply. In most cases, it’s a clean and simple setup with minimal disruption.
Terraced homes
For terraced homes, it often comes down to where you park. If you’ve got a dedicated space close to your property, installation can be just as simple as other homes. If parking is on the street, things can be a bit more complex and may involve permissions or additional considerations.
Homes with garages
Garages can work well for EV charging, especially if your electricity supply is nearby. Chargers can be installed inside or just outside, depending on how you use the space. The key is making sure the cable route is practical and easy to use day to day.
Flats and apartments
Flats tend to be a bit more involved. You’ll usually need permission from a landlord or management company and installation depends on your parking setup. In some buildings, shared charging solutions may already be in place or being introduced.
What does a home charger installation involve?
A standard home EV charger installation is usually completed within a day, although this can vary depending on your property layout and electrical setup. The process follows a clear structure, starting with planning and ending with full system testing.
Checking your home and planning the installation
The first step is a technical assessment of your property. This allows your chosen installer to understand how your electrical system is set up and where the charger can be installed safely. Here, they will review your consumer unit, check available capacity, and identify the most suitable route for cabling. At this stage, the goal is simply to design an installation that is going to be safe and practical, without unnecessary disruption to your home.
Fitting your EV charger
Once the plan is confirmed, the physical installation begins. You can expect the charger unit to be securely mounted in the most suitable location, usually on an exterior wall or in a garage. Cabling is then run back to your consumer unit, with appropriate safety devices installed along the way. Your installers will also make sure that the system is weather-protected and positioned for long-term durability.
Getting everything up and running
After installation, the charger is tested to make sure everything is working as it should. You’ll also be shown how to use it, so you feel comfortable from day one.
If your charger includes smart features, you’ll be able to connect it to an app to schedule charging and keep an eye on your usage. This can make it easier to charge at cheaper times, without needing to think about it too much. In fact, our Power+ mode automatically charges at cheaper, greener times based on overall grid demand. Just tell us when you need it ready by and we’ll do the rest.

From booking to your first charge with Hive
We make the whole process simple from start to finish, including helping you get the relevant checks and permissions in place before anything starts. So you’ll be enjoying your new EV charger sooner than you might think. All it takes is three steps.
Choose your charger – Pick either the Sync or EO, then share a few details about your home and where you’d like it installed.
Get your quote – One of our trusted installers will review everything and give you a personalised quote.
Installation and set up – Your installer will fit your charger (usually in 4-5 hours) and get everything ready to use.
So if you’re thinking about a home EV charging installation, look no further. Start your quote with us and our trusted installation partners will take care of the rest.