Find and download product information, user guides and quick start guides for new and old Hive devices.

Smart heating
Thermostats and Radiator Valves

EV charging
EO Mini Pro 3 EV Charger, Sync Energy Wall Charger 2

Solar & battery
Hive Bridge
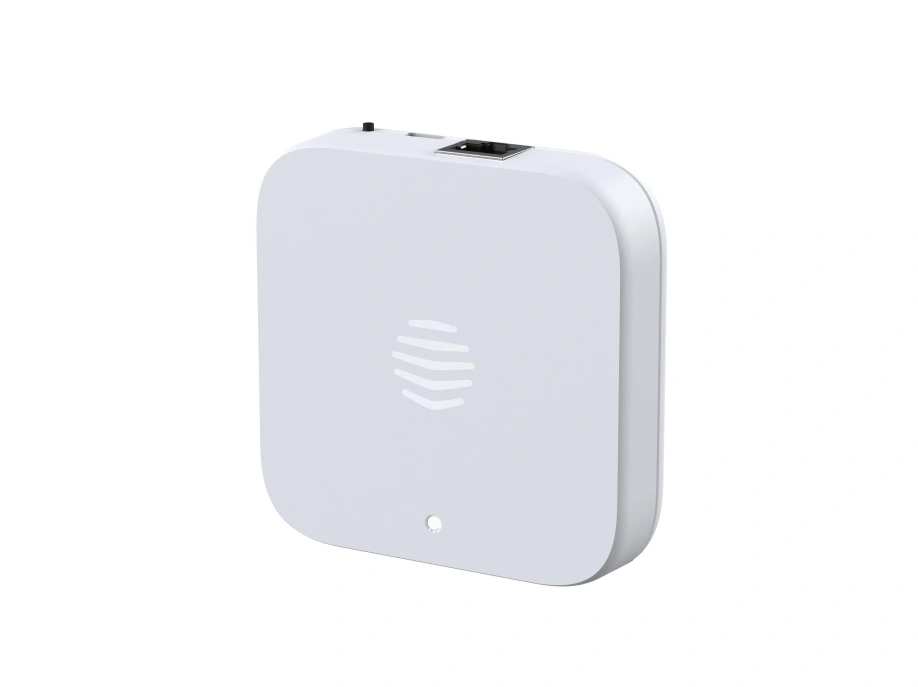
Hubs and connectivity
Hive Hub, Hive Signal Booster
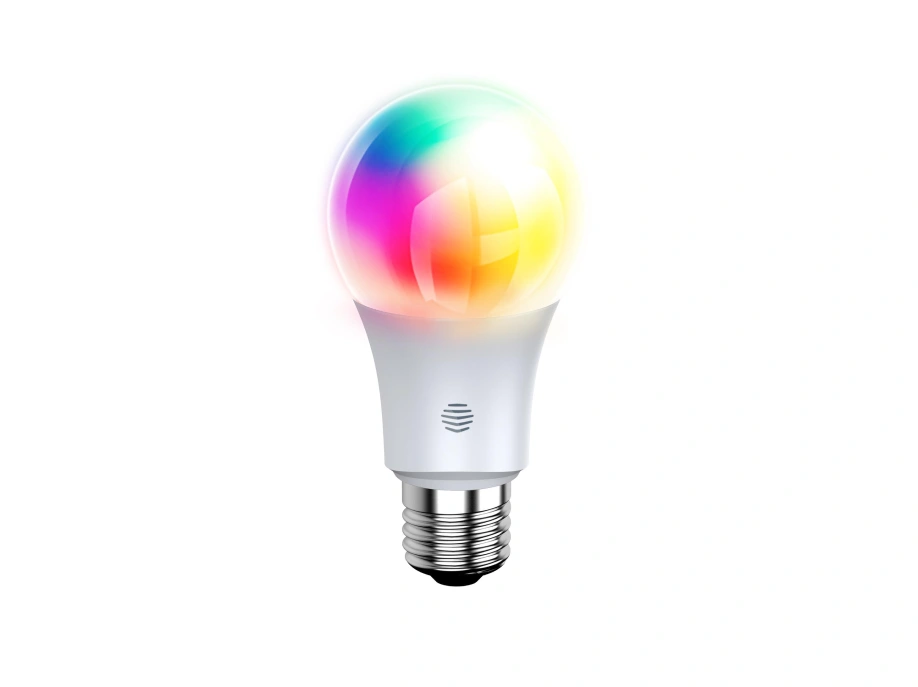
Lights
Hive Smart Light Bulbs
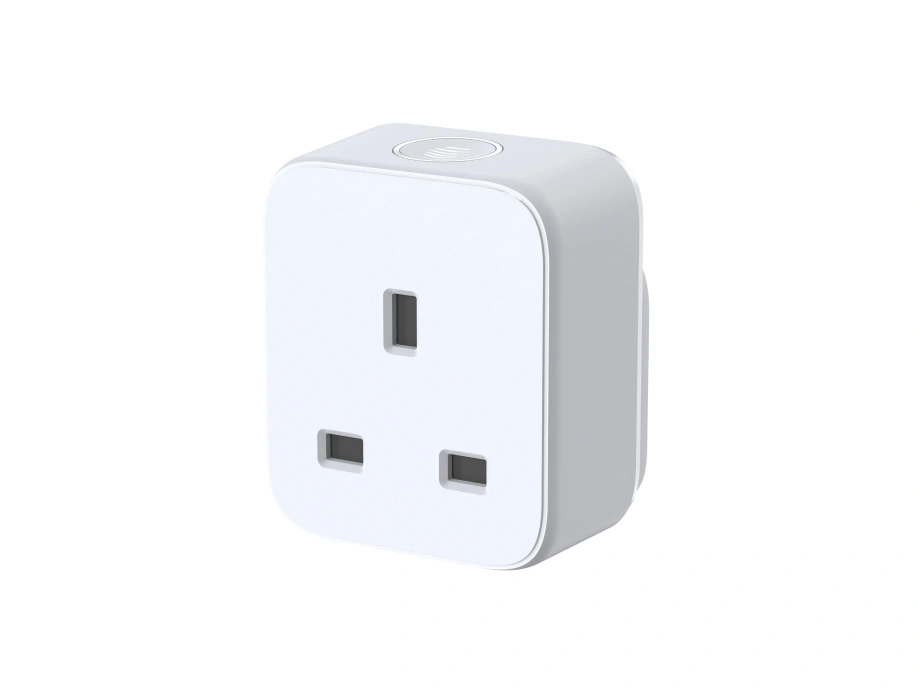
Sensors & plugs
Hive Motion Sensor, Hive Pet Friendly Motion Sensor, Hive Windor/Door Sensor, Hive Plug

Accessories
Hive Thermostat Stand, Hive Thermostat Frame