Fittings in the box
 Wall mount
 Screwdriver size #00
 1 Grey washer screw
 12 Silver screws
 13 Wall plugs/anchors
 12 Cable clips
 2 Wall grommets
 6 Internal nails & clips
Tools you may need
Phillips screwdriver 1
 Power drill
 Drill bits 6mm, 12mm
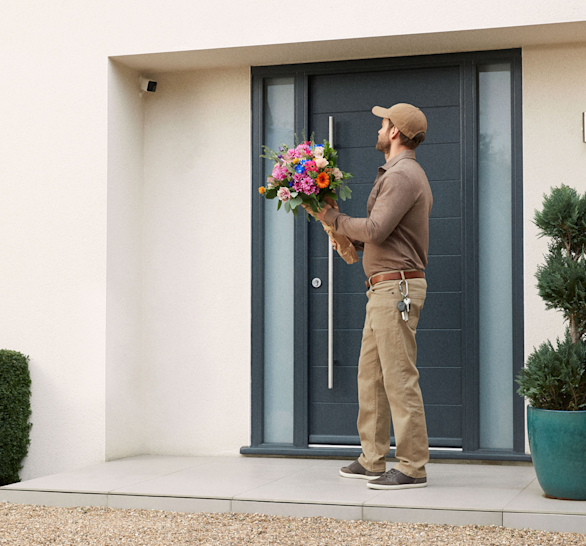
Choosing a location
To get the most out of your camera we recommend the following installation tips.
Please be mindful and respect your neighbours privacy when fitting.
Plan the cable route
The 7.5m cable will need to reach an internal power socket including the route through and along the wall.
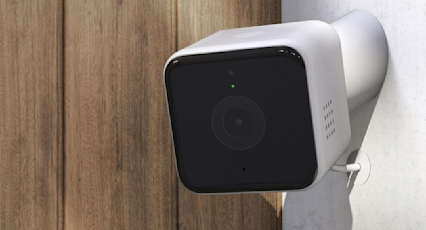
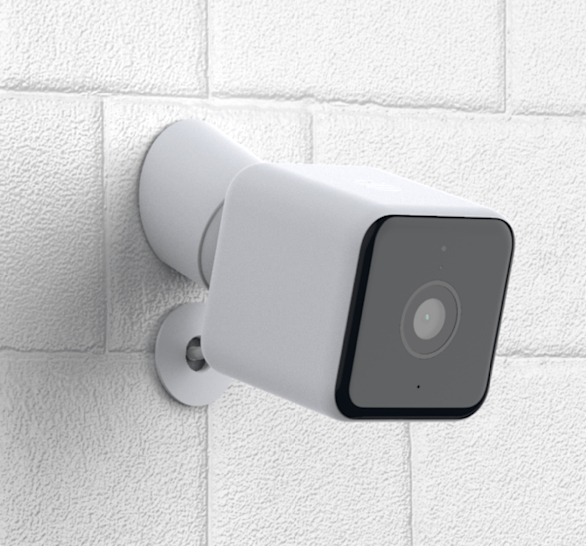
Positioning the camera
Install the camera out of arms reach, just high enough to clearly see people’s faces and talk to them through the camera. (2-2.7m).
If you have a specific area you'd like to monitor make that the centrepiece of your camera's view.
When positioning
- Avoid walls in direct sunlight*
- Avoid glare from surrounding lights at night
- Avoid objects blocking the camera's view
*The camera is designed to operate between –20°C and 45°C (-4°F and 113°F).
Click here for more installation hints and tips
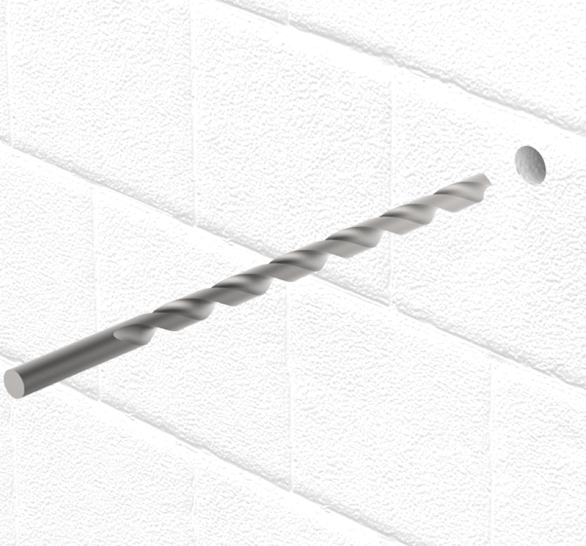
1. Route cable
Start from the outside of the building drilling inwards.
Drill a pilot hole to mark where the power cable will travel through.
Using a 12mm drill bit, drill a larger hole through the wall for the cable to fit.
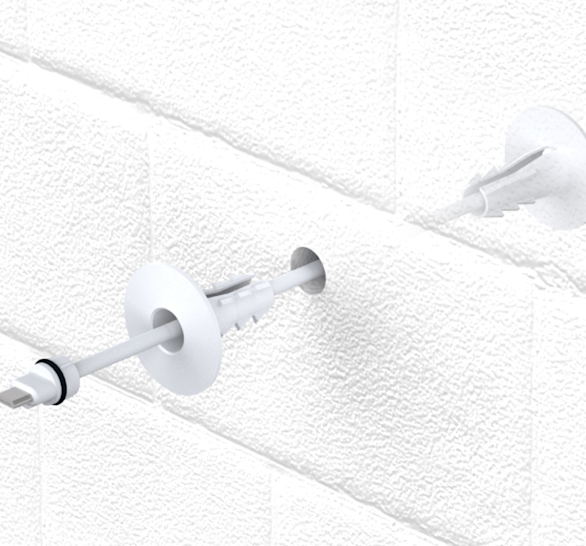
2. Thread the cable
From inside of the building thread the cable through the first grommet, then through the wall and finally through the second grommet.
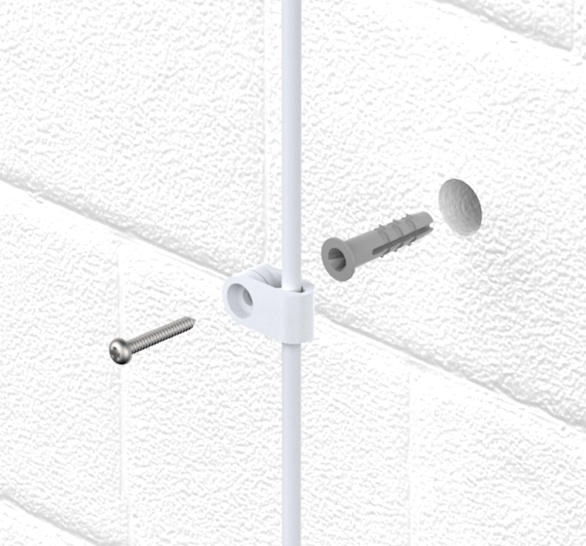
3. Secure cable ties externally
Mark the location where you would like to fit the mount. Use a 6mm drill bit to drill the hole.
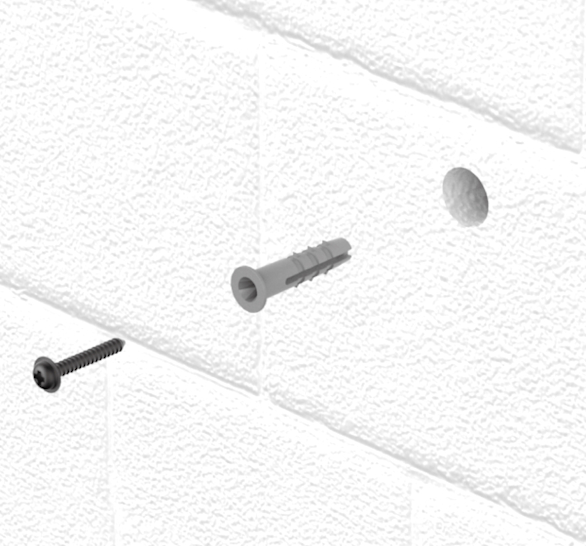
4. Prepare camera mount
Mark the location where you would like to fit the mount. Use a 6mm drill bit to drill the hole.
Insert a wall plug. Then screw the black washer screw into the wall, leaving a small gap between the screw head and the wall so you can securely hook on the mount.
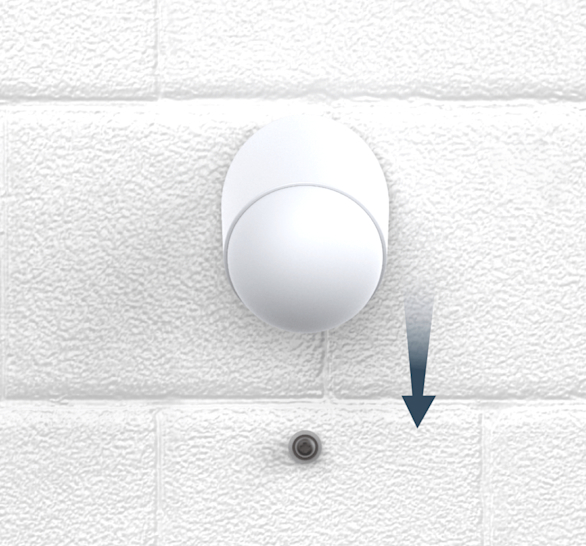
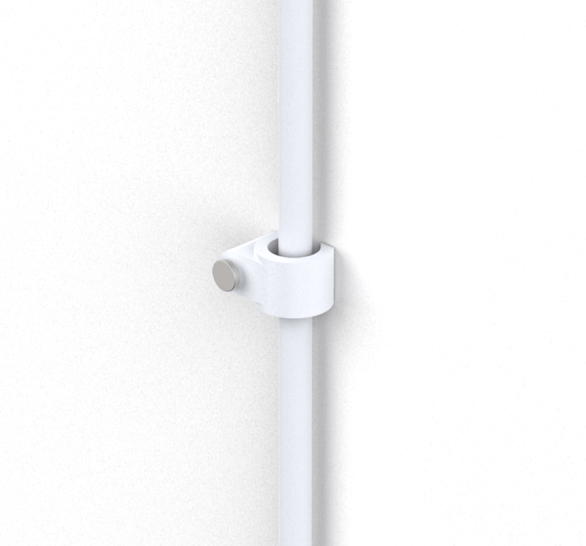
5. Fit mount to wall
Slide the mount onto the screw.
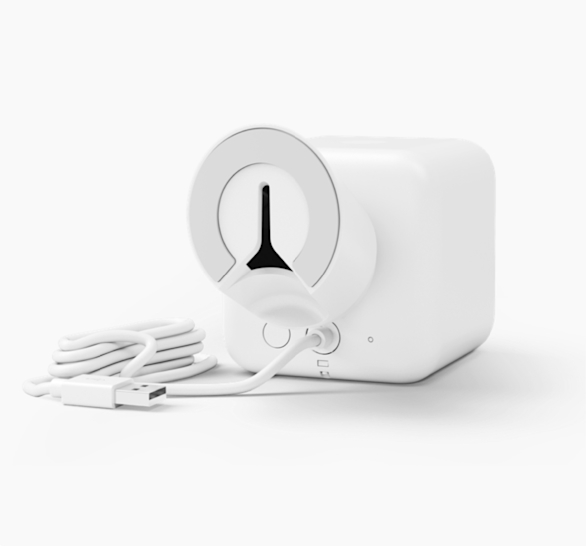
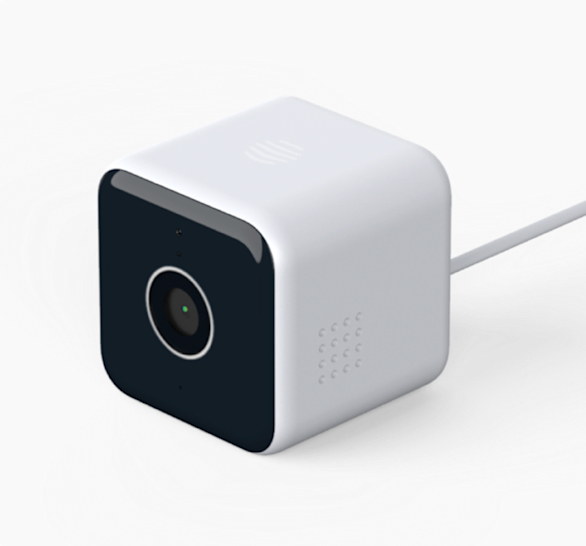
6. Connect camera
Reconnect the power supply and tightly screw the small security screw in place.
Connect the camera to the mount, the magnet will secure it in place.
7. Final adjustments
Pull the cable to remove any slack and tighten the screws on each of the cable clips.
Any length of cable routing internally can be secured along the wall using a hammer and the included nails & clips.
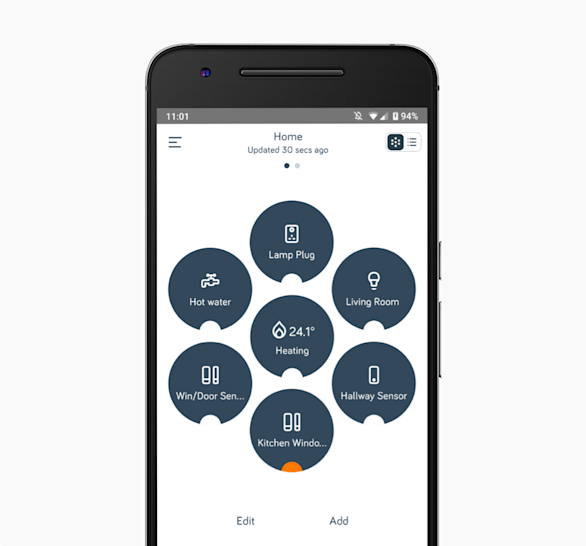
1. Open the Hive app, then go to Install Devices which you can find in the Menu, then tap on Camera. If you’re new to Hive, start by downloading the Hive app.
Once installed, tap Create Account on the login screen and follow the on-screen instructions. Then return to the app and tap Camera.
2. Next, follow the instructions on the Hive app. We’ll walk you through connecting the device and the installation.
Hints and Tips
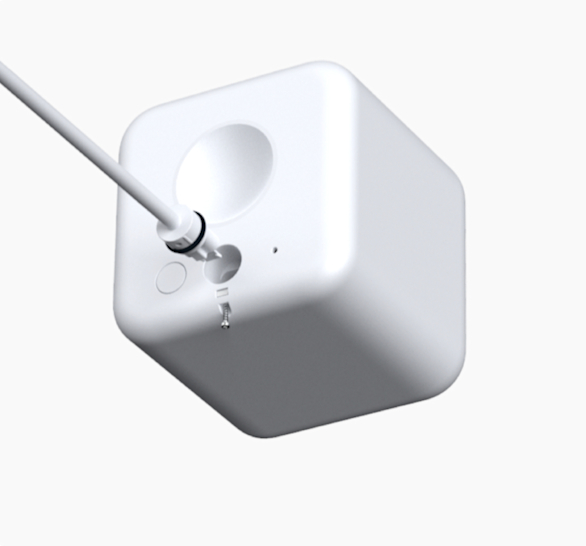
Can’t insert the power cable?
Your camera comes with a small screw to protect it further from theft. If this screw is already inserted on the back of the camera and is blocking the cable from plugging into the camera, just loosen it slightly so the cable can travel through. Don’t tighten it back up until the end of set-up and fitting.
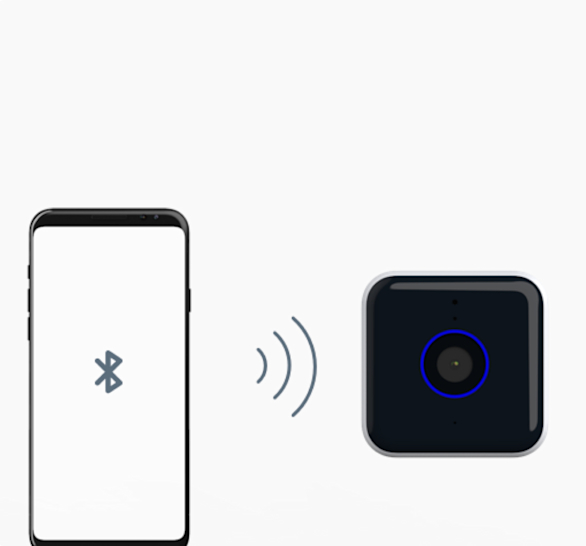
Hive app not finding your camera?
We use Bluetooth to connect your camera to your phone while we set it up. Check that Bluetooth is turned on. You can switch on Bluetooth in your phone or tablet’s settings. You will only need to have Bluetooth on for setup of your camera.

Bluetooth not pairing?
Keep your phone or tablet 1-2 metres (3-6 feet) from your camera until it’s been added to your Hive account in the app.
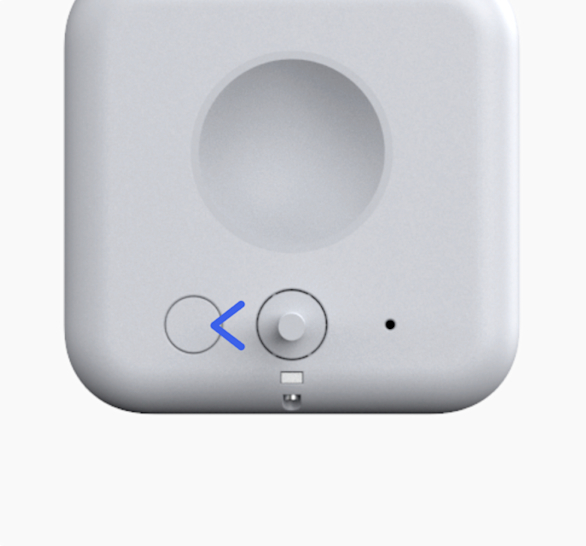
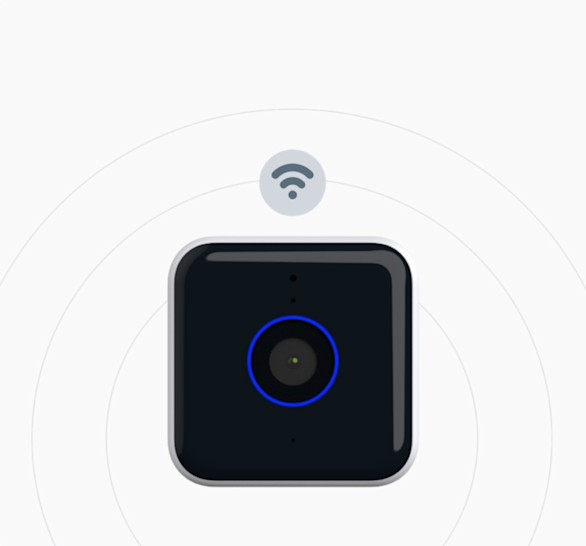
Camera light ring not flashing blue?
Restart pairing mode
Press and hold the power button on the back of the camera until the light ring flashes blue.
Still not working?
Reset Hive View Outdoor
Reset Hive View Outdoor
1. Check power supply
Make sure your camera is switched on.
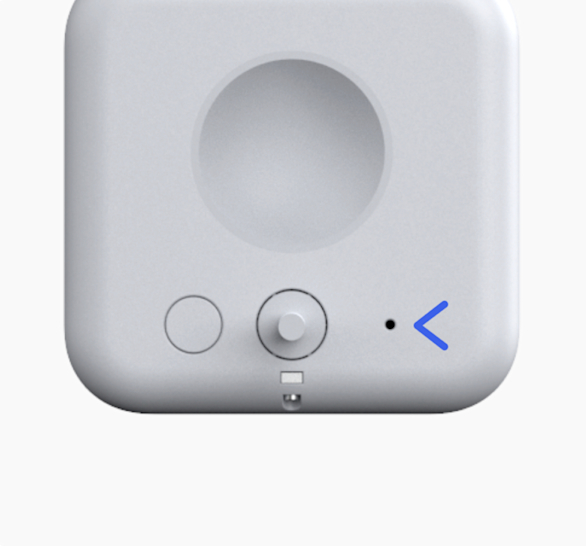
2. Reset Hive View Outdoor
Use a paperclip to press and hold the reset button in the pin hole on the back of the camera until the light ring double flashes yellow.
3. Camera restart
The camera will now restart itself and then the light ring will flash blue.
Can we help?

Professional installation
You might need a ladder and tools to set up your Hive View Outdoor. If you’re comfortable using a drill and a ladder it shouldn’t be a problem. We can also help with professional installation options.
Find a Pro installer
Contact us
If for any reason you need to return your Hive View Outdoor, get in touch and we’ll explain what to do.
Please bear in mind that any return is subject to the retailer’s refund policy so don’t forget to check that too.
Contact us